
Welcome!
Welcome! My name is Lorraine Mortensen, and I love helping women look and feel beautiful, not only through my portrait sessions, but also through everyday skin care and makeup routines.
It’s such a lovely treat to have professional makeup done, but not all of my sessions include professional makeup, so what should you do?
Or what about your everyday life when you don’t have a makeup artist making you look beautiful every day?
That’s why I developed this guide! Makeup for a photo session, or for your normal everyday life doesn’t have to be complicated! With a few simple instructions, and some great products you can do your own makeup for a photo shoot, or for anytime you want to look and feel beautiful.
The first step to doing your own makeup is to have the right products. If you are going to invest in makeup that you will be wearing on a regular basis then it’s very important to use products that use safe ingredients.
Did you know that the cosmetics industry is very unregulated, and many of the ingredients used in makeup are endocrine system disruptors, allergens, and even carcinogens. This is shocking and very unfortunate, because women shouldn’t have to compromise their health for the sake of beauty.
This is why I recommend Beautycounter cosmetics. Beautycounter has banned over 1800 questionable ingredients and I believe are the safest cosmetics available. Not only are they safe, but they are high performing and beautiful.
My daughter and I both personally use, love, and highly recommend Beautycounter products. My daughter Hannah will be demonstrating all the makeup application techniques in the videos, but I've also included written instructions, as well as list of recommended products. If you would like to purchase any of these products simply click on them, or contact me directly for help selecting products, colors, and for information on how to save money on your order!
These instructions are written specifically for someone who wants to do their own makeup for a natural light photo session, but the techniques and end result is also appropriate for you to use for your everyday makeup. Please reach out if you have any questions.
Skin Care
Before we talk about makeup, we first need to quickly talk about skin care! Having beautiful skin is the foundation of having beautiful makeup. To properly prepare your skin before a photo session you’ll want to start on a good skin care regimen at least 30 days before your session. It takes 30 days for you skin cells to turn over, so it will take at least that long before you see any visible results from your skin care routine. Before choosing a skin care regimen you will need to know your skin type, and any skin conditions you may be dealing with. If you need help with this please feel free to reach out to me and I can help you figure it out. Once you have that information you can take my Skin Care Quiz to help you figure out which skin care regimen, and which treatment products will be best for your skin.
Step 1: Even
The first step and most important step is to even out your skin. Clean, even skin is extremely important for beautiful portraits. Even if you think your skin is pretty good, please wear concealer, foundation and powder to your portrait session.
A day or two before your session gently exfoliate your skin, and tweeze your eyebrows. Do not use a facial mask as it may draw impurities out of your skin and cause you to break out.
On the day of your session start by washing your face and applying a light moisturizer designed for your skin type, and an under eye moisturizer to help your concealer blend better.
Apply your makeup in natural light.
For your first step you’ll need to apply a full coverage foundation. It's very important to wear foundation so that your skin tone will be even. Please use a full coverage foundation, not a tinted moisturizer or BB cream. Choose a color that properly matches your skin tone. I also recommend using a foundation brush or sponge to help you blend your foundation well.
Next, apply concealer to cover dark under eye circles and blemishes. Please do not skip this step! Make sure to blend well.
Do not use bronzer or do any contouring because this makes your skin look muddy in your photographs.
Finally, set your foundation with a translucent powder to reduce shine.
For help choosing the best foundation and concealer colors for your skin, please contact me directly.
Recommended Products:

BeautyCounter Skin Twin Featherweight Foundation

BeautyCounter The Better Blender

BeautyCounter Skin Twin Creamy Concealer

BeautyCounter Mattifying Powder
Step 2: Define
Your next step is to define your eyes!
Start by looking at the chart below for the type of eye makeup you would like to achieve. I recommend most women coming in for a photo shoot aim for the "medium" look.
Brows - use a brow pencil or brow gel to lightly fill in and shape eyebrows.
Eyeshadow. Use matte eyeshadow colours as much as possible. Try to avoid sparkles because these will look like white dots on your skin in your portraits. Choose neutral colours. My favourite eyeshadow palette is The Nudes by Maybelline. This 12-shade eye shadow palette features dazzling colors. From bold beiges and sultry sands to brazen bronzes and tempting taupes, this makeup palette is perfect for creating versatile eye makeup looks.
colour the entire eye area with a pale nude shade
Shade the eyelid with a medium nude shade
Contour the eyelid crease with a dark nude shade
Line around lash line with a deep brown shade
For those who prefer a very natural “no-makeup” look choose a light neutral or soft warm colour eyeshadow color over your entire eyelid, and add mascara.
For a more dramatic eye, you can add a darker colour to contour the eye. Here's an example using the Beautycounter Velvet Romantic Palette shown below. This is a beautiful palette that works well for most eye colours and skin tones. 1. Sweep a light eye color (Candlelight) over the entire lid-start at the lash line and blend upward to just underneath the brow. 2. Brush a medium colour (Truffle) along the crease. Start at the outer eye and blend inward toward your nose, no more than 2/3 of the way across. 3. For a more dramatic eye you can also blend in a darker colour (Smoulder) along the crease. Blend well!
(Update: Beautycounter currently doesn’t carry powder eye shadow palettes. Instead, use a powder eyeshadow palette of your choice, or try a Beautycounter Cream Eyeshadow instead.)
Eyeliner is very important in natural light photography because it helps define the eye. Use either a liquid or a pencil eyeliner, whichever you find easiest to apply. For women over 40 I recommend using a pencil eyeliner and avoiding black eyeliner as it is too harsh. Start on the top lid starting from the inside and go all the way to the outside of the lid. Stay very close to the lashes. If you choose to wear eyeliner on the bottom lid make it soft. You can also use a brush to apply a darker shade of eyeshadow to line your bottom lid.
False eyelashes can also be applied at this point, but this is totally optional. Cut the lash in half so that they aren’t too big. Apply to the outside edge of the lid.
Mascara is the finishing touch. Apply several coats of either a volumizing or lengthening mascara.
Recommended Products:

BeautyCounter Lid Glow Cream Shadow

BeautyCounter Brilliant Brow Gel

BeautyCounter Think Big All-In-One Mascara
For portrait sessions I recommend the "medium" look for most women. For everyday wear I recommend “natural” or “light”.

Step 3: Color
Adding color to your cheeks and lips is your final step! For cheek and lip choose colors that are in the same color family (warm or cool) as your eye shadow. For example, if you choose cool colored eye shadows, choose cool color cheek and lip colors.
Cheeks
An easy way to know where to apply your blush is to simply smile! Start on the apples of your cheeks and lightly brush back towards your hairline. Do not contour with the blush.
Choose a cool soft pink or a warm soft apricot color. Do not choose a color with a lot of sparkles in it because the sparkles will show up as white dots in photos.
Optional: Lightly dust a highlighter powder onto your cheekbones. A light shimmer is fine, but avoid any highlighter that is too sparkly.
Lips
Choose a color that you like and suits your skin tone, and matches your outfits. Avoid choosing a nude color, or a highly shimmery, sparkly or metallic color.
Bring all of your makeup to your session for touch ups, but especially your lipstick. This is very important!
Recommended Products:

Beauty Counter Cheeky Cream Blush

BeautyCounter Sheer Genius Conditioning Lipstick

Beautycounter Beyond Gloss Lipgloss
Before and After
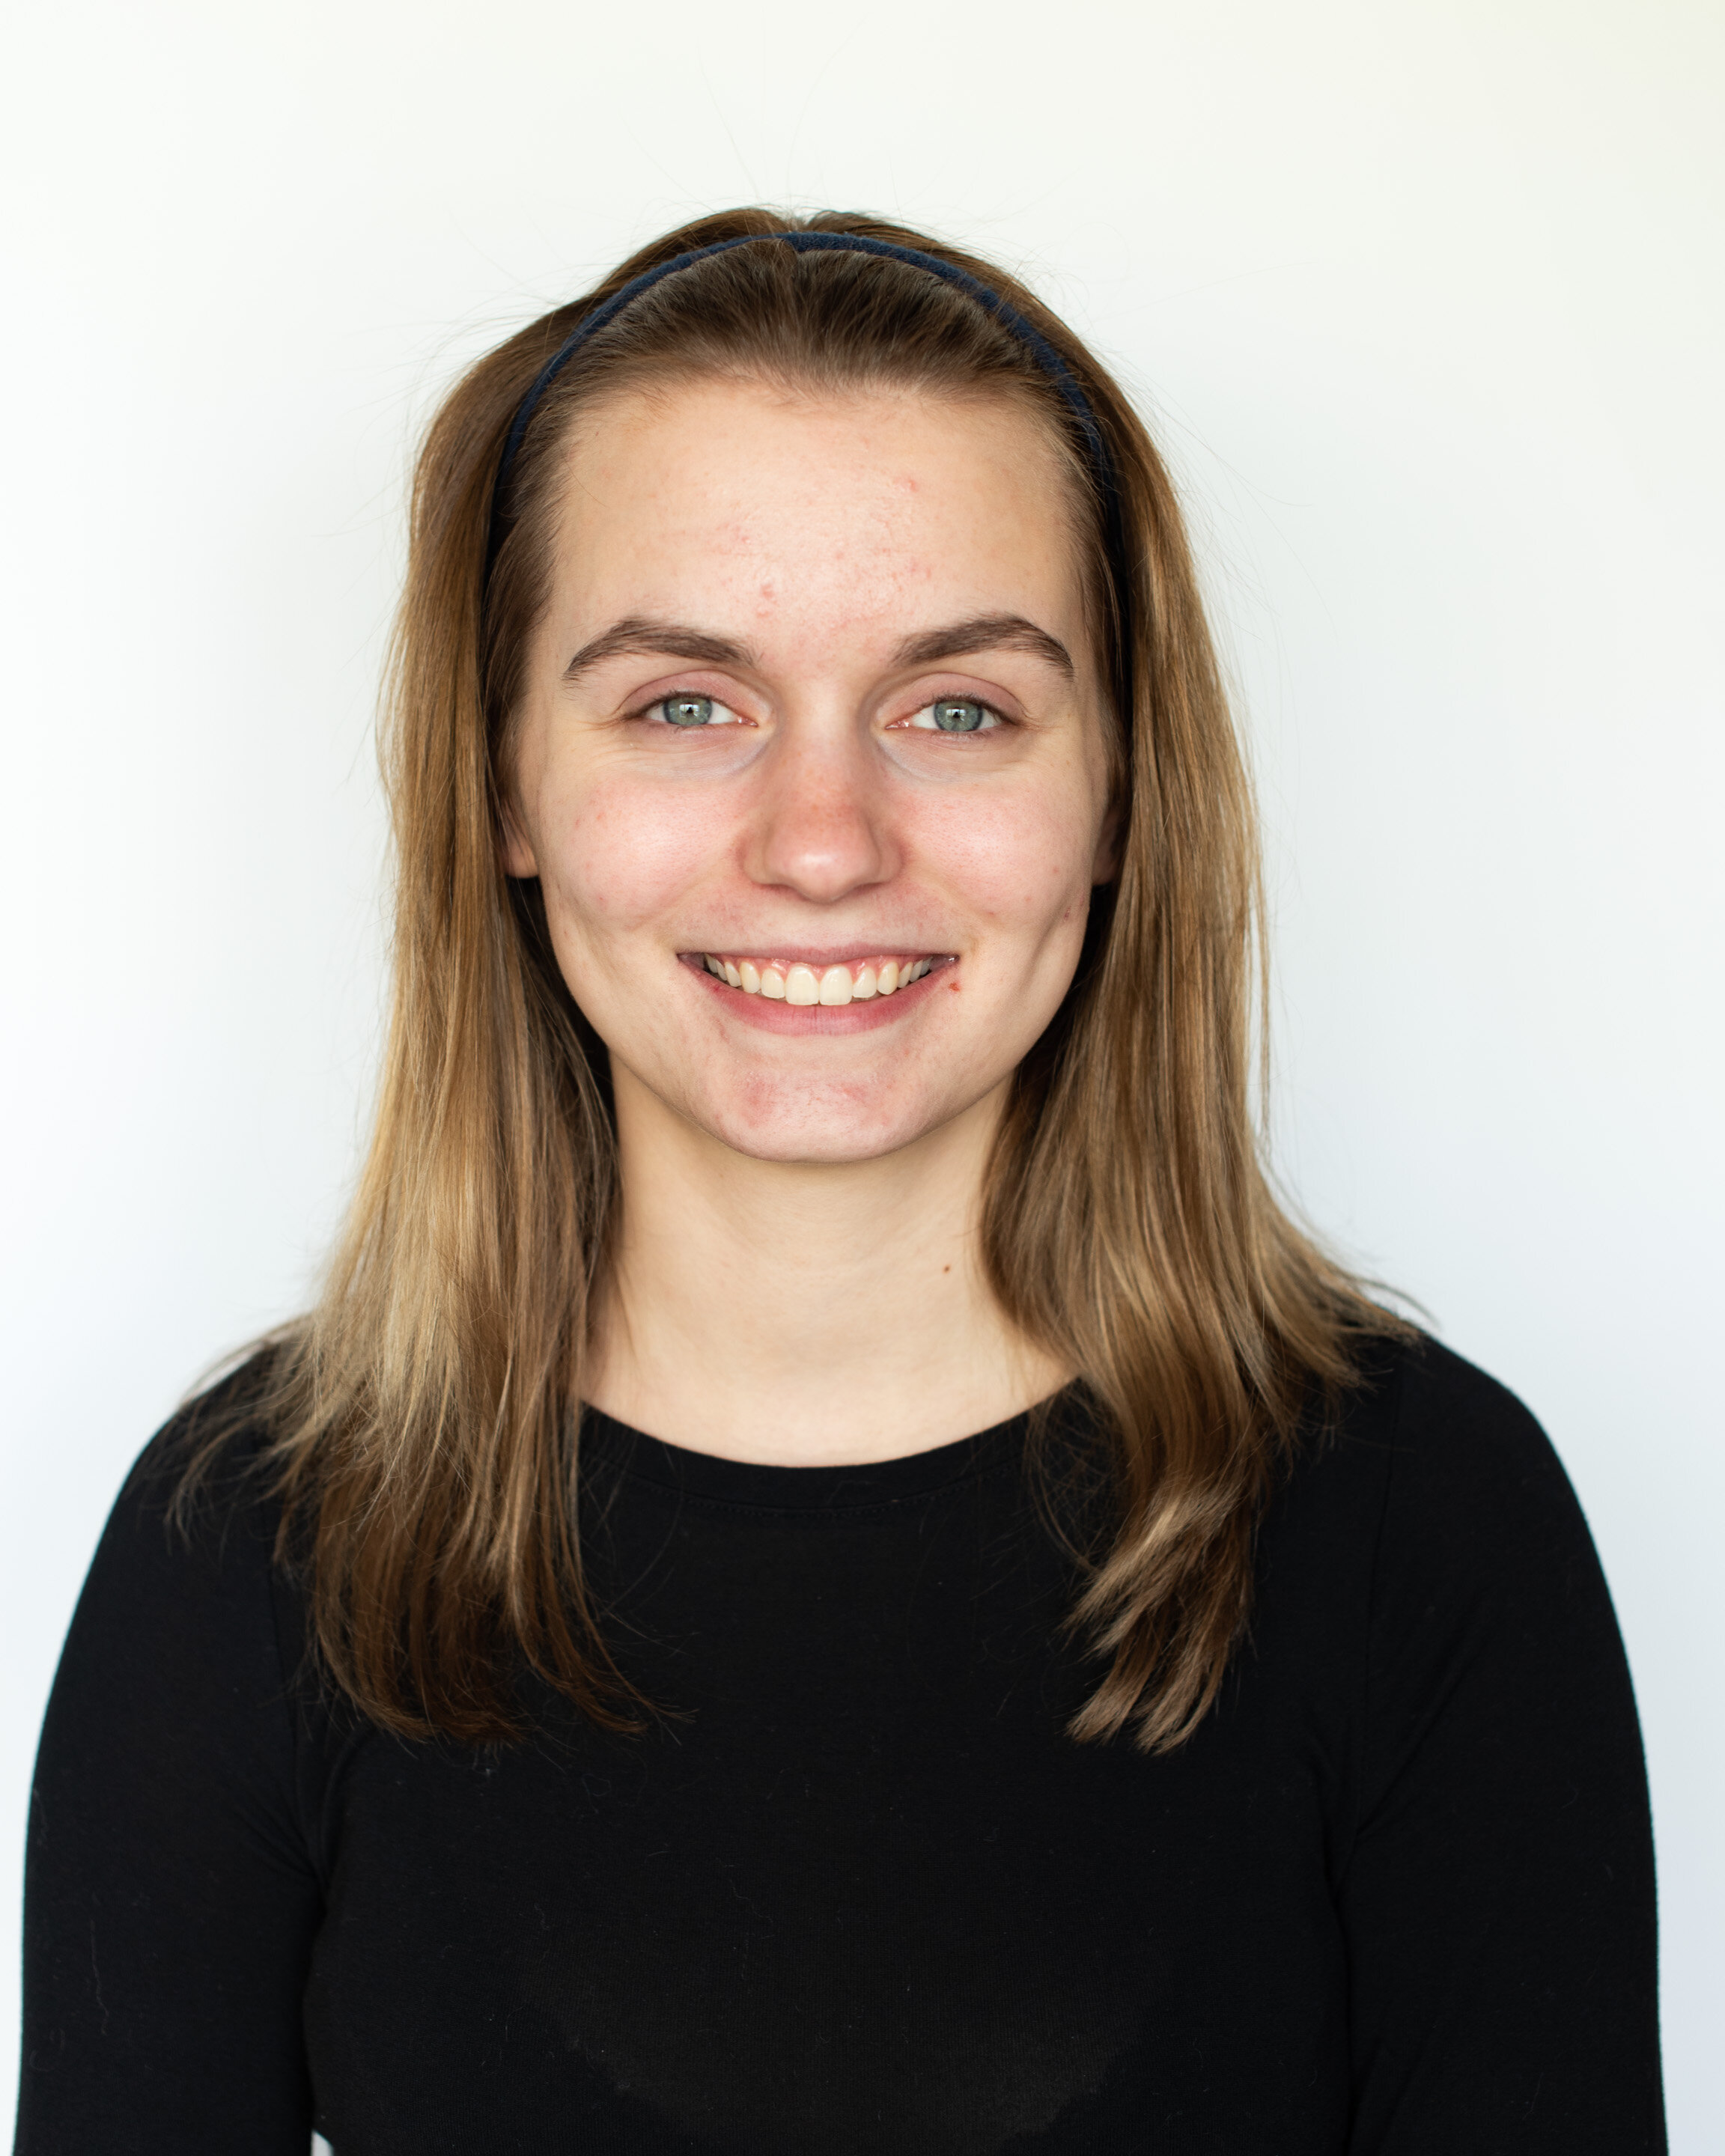
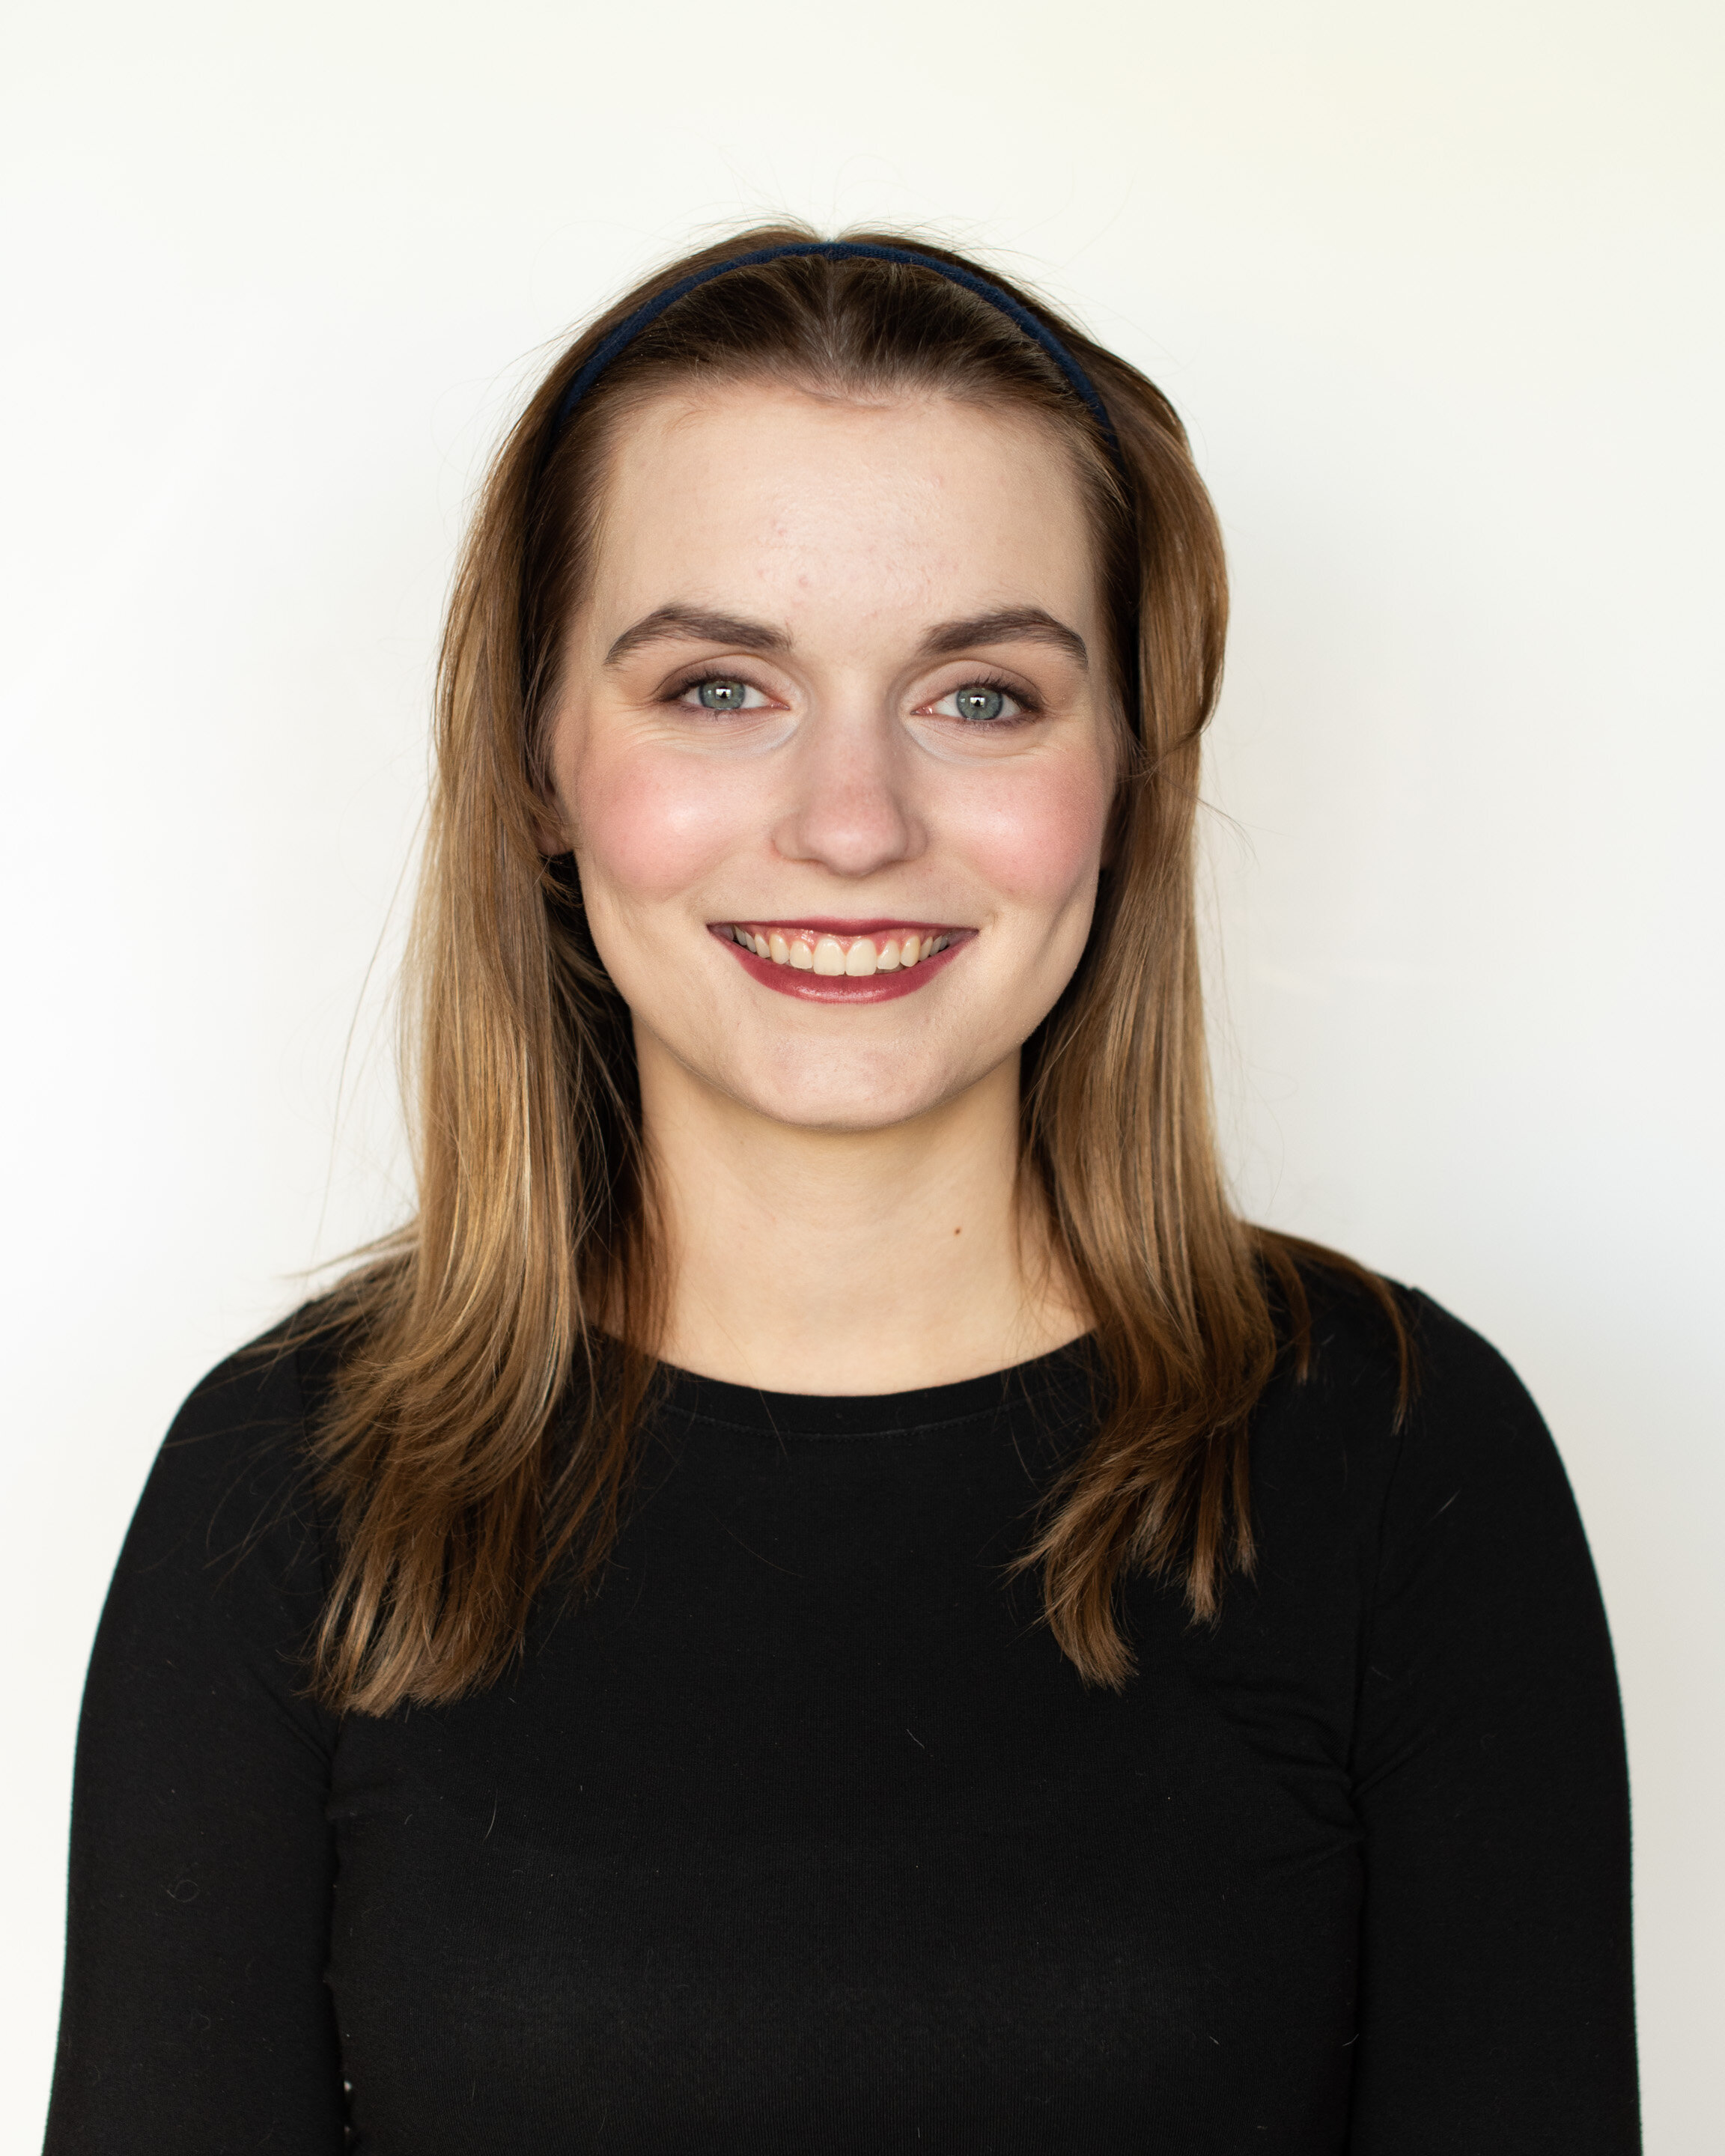
I hope you found this guide helpful! You CAN do your own makeup for a photo shoot, or to feel beautiful in everyday life.
I’ve you have questions, want to order products, or need more personal instruction please contact me.